Installing Azure Security Center Agent on Linux Computer
You probably know that Security Center can monitor your Linux computers, right? You also know how to onboard non-Azure machines to Security Center, right? OK, now the question that I've received recently was: how can I install the Security Center Linux agent in my Linux computer? The steps documented in the article Connect your Linux Computers to Log Analytics will still work, but using the Security Center interface is easier.
1. In the left navigation pane of Security Center dashboard click Onboarding to advanced security.
2. Click the blue arrow besides the option Do you want to add non-Azure computers?
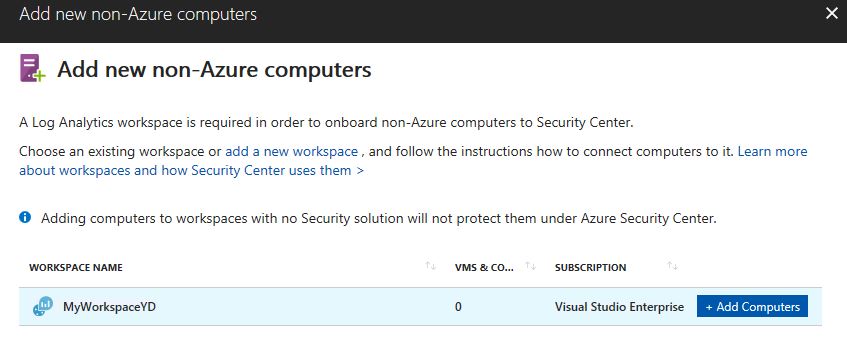
3. In the Add non-Azure computers page, select the workspace that you want to connect the Linux computer to Security Center.
4. In the Direct Agent page, under DOWNLOAD AND ONBOARD AGENT FOR LINUX, click the copy button to copy the wget command.

5. Open Notepad, and paste this command. Save this file to a location that can be accessible from your Linux computer.
6. In your Linux computer, open the file that was previously saved. Select the entire content, copy, open a terminal console, and paste the command.
7. Once the installation finished you can validate that the omsagent is installed by running the pgrep command. The command will return the omsagent PID (Process ID) as shown below:

The logs for the Security Center Agent for Linux can be found at: /var/opt/microsoft/omsagent/<workspace id>/log/ 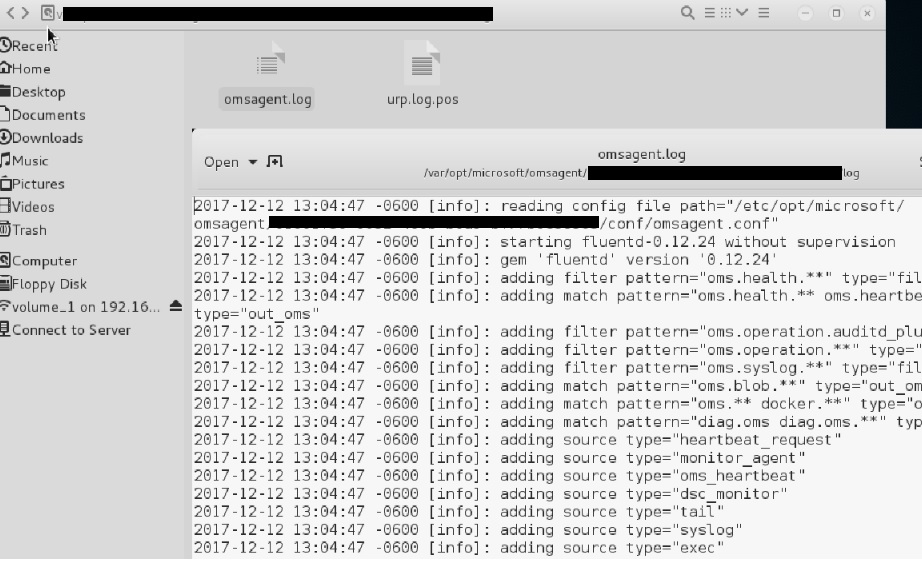
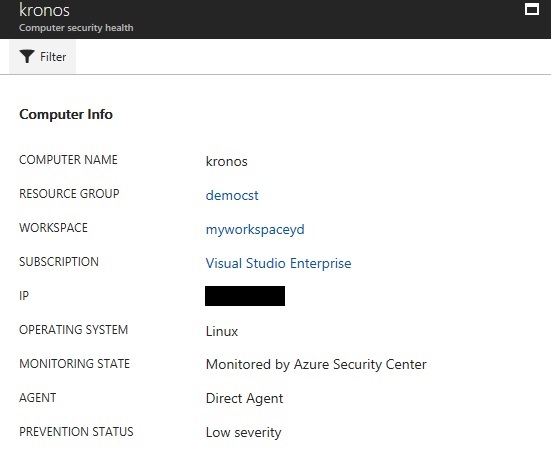
The logs for the agent configuration can be found at: /var/opt/microsoft/omsconfig/log/. After some time (in my case took it 30 minutes), the new Linux computer will appear in Security Center: