Getting started with App-V and Configuration Manager 2012 SP1
Deploying App-V packages with CM 2012 SP1 is simple and becoming the preferred delivery mechanism for many customers when looking at App-V. Here’s a quick end-to-end on delivering an App-V application via CM 2012 SP1 for those who aren’t familiar with the process.
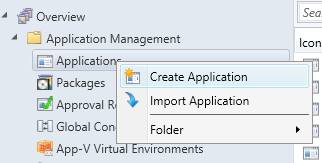
1 – Create Application
The first thing we need to do is create our application in the CM 2012 console:
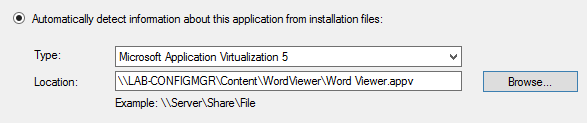
In the next window we select Microsoft Application Virtualization 5 as the Type and also specify where content resides in your content source:
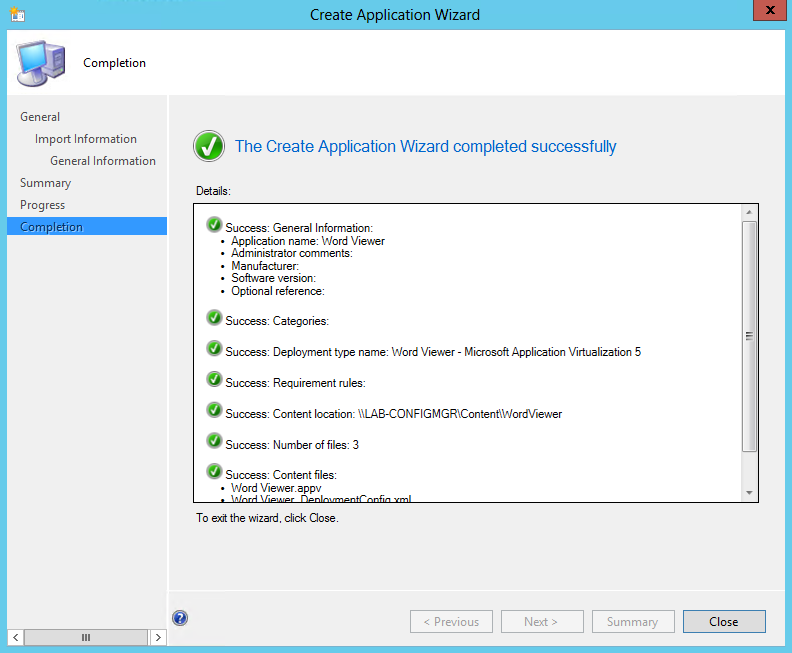
Go through the steps to successfully import the package:
2 – Review Deployment Type
Once your application is created you will notice a deployment type in the bottom pane:
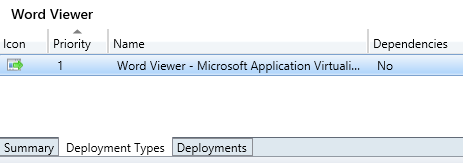
Double click and review the deployment type, especially deployment options under the Content tab, more about your options here soon!
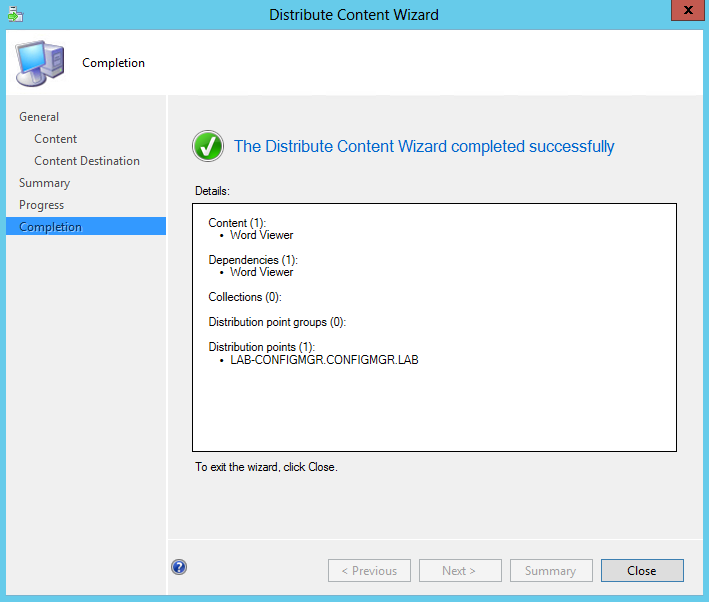
3 – Distribute Content
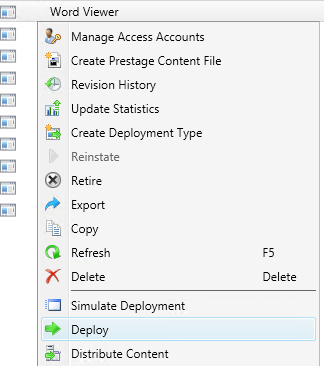
Next we need to distribute our content to make it available on the Distribution Points (DPs). Right click the application and chose Distribute Content:

Go through the steps of selecting where you want to distribute your content.
4 – Deploy
Now the content has been distributed we are ready to deploy the application we have created to a collection.
First we chose which collection we want to target this deployment at:
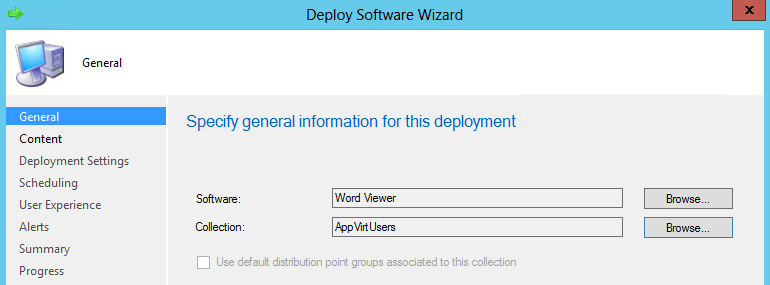
In this case I have already setup a collection that pulls users directly from a group in Active Directory called AppVirtUsers. Then we specify where the content has been distributed to:
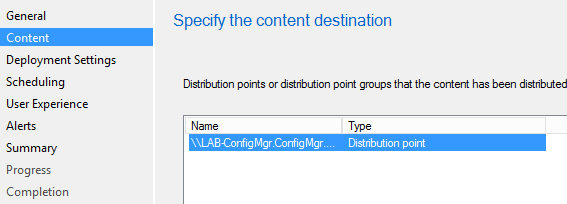
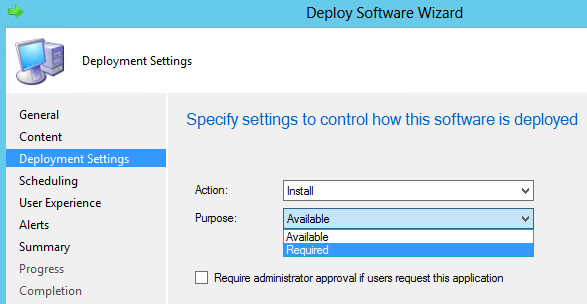
Then we need to choose the method of install as either available or required:
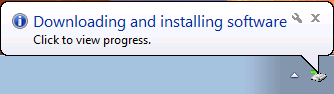
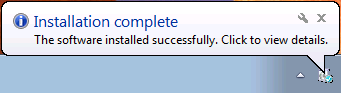
After user policy evaluation eventually the CM client will add and publish the App-V application and with the default deployment type it will also mount it fully into cache. By default you will see the following notifications during delivery:
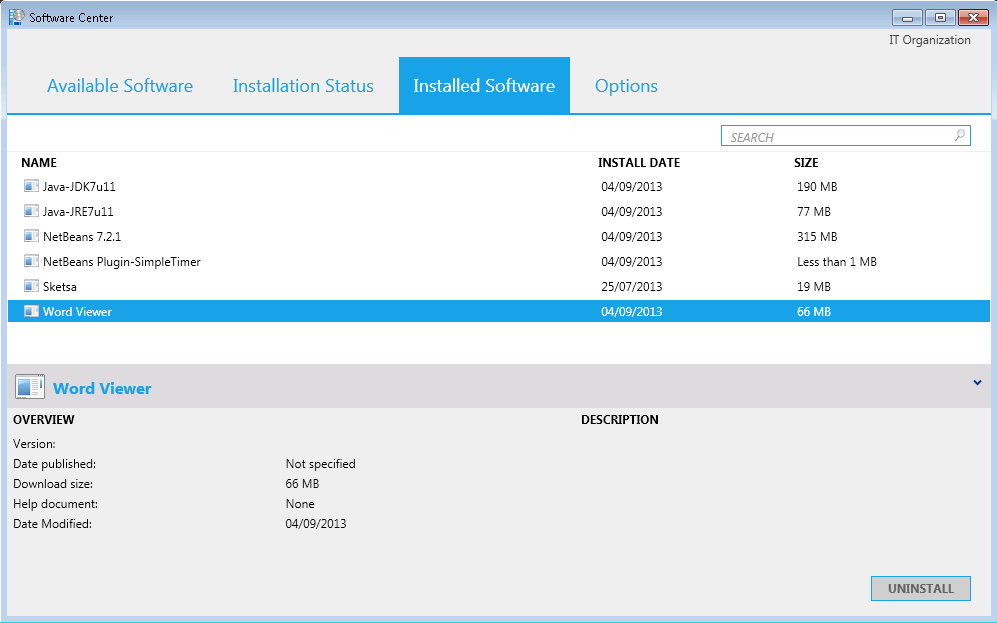
You can review the successful delivery in the Software Center under the Installed Software tab.
So that summarises how to deliver an App-V application with CM 2012 SP1. If you are interested in automating these steps using PowerShell, read this blog series here by my main man Dave Falkus!