Using PowerPoint to show videos in Lync 2013
Lync 2013 does not natively support the showing of video clips. Some have tried using desktop sharing to display a video but this does not work very well because the refresh rate of application and desktop sharing in Lync 2013 is set low to reduce network bandwidth consumption. This results is very jerky and almost unwatchable video.
The recommended way to share video clips in Lync 2013 is to use PowerPoint 2013 presentations. PowerPoint 2013 has the ability to embed video clips into a presentation and share that presentation through Lync 2013. Note that we would only recommend this solution for short (<5 minute) video clips to ensure that network resources are not overloaded. Also, see the warnings at the end of this article.
It is pretty simple to embed a video clip into PowerPoint, but there are some additional steps that need to be followed to ensure the video will play when shared in Lync 2013 meetings. Just because the video plays from PowerPoint on the desktop will not guarantee that the video will play successfully in Lync. This is because Lync 2013 uses the PowerPoint Web Application to display the PowerPoint presentation and embedded video. So, follow these steps to ensure your video will play in your Lync 2013 meeting:
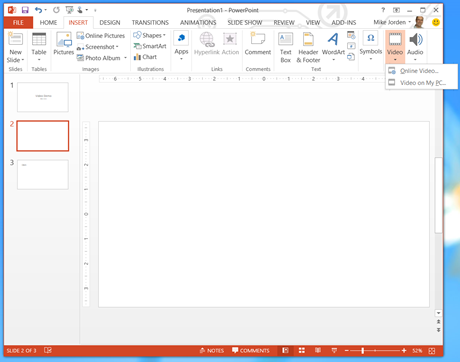
In the PowerPoint 2013 presentation, select Insert from the Ribbon and then choose Video and select Video on My PC. Note that Online Video may not play correctly when shared in Lync 2013:
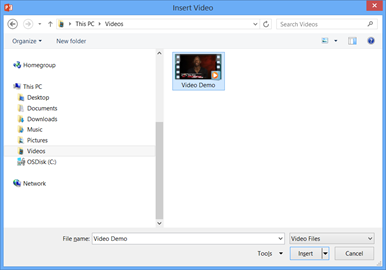
Select your video file. MP4 or WMV work best, although other types such as MOV may work:
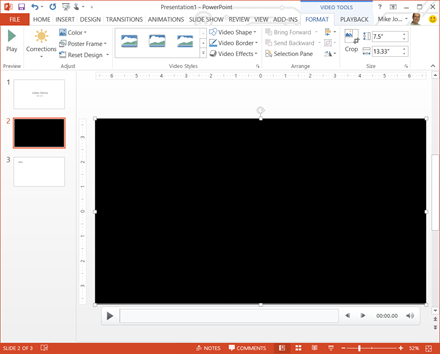
The Video file will appear in your current PowerPoint slide:
Choose the PLAYBACK option in the Ribbon. Note especially the Play Full Screen and Start: options:

I recommend selecting Play Full Screen to ensure the video fills the screen. I also recommend Start: be set to On Click. The other option is Automatically. If Automatically is selected, as soon as the slide is displayed, the video starts playing. In a normal onscreen PowerPoint presentation, this is an advantage, but when showing videos online via Lync 2013, other factors come into play. When the video is played in a Lync 2013 meeting, the video is buffered onto each PC where the user has joined the meeting via Lync 2013. This buffering starts when the PowerPoint slide containing the video is displayed. On PCs with poor network connectivity, it can take a few seconds for enough of the video to be buffered before it can begin to play. If the video starts to play Automatically as soon as the slide is displayed, PCs on slow connections may not have received enough of the video file to be able to start playing the video. This may cause confusion and frustration for the attendee.
Best practice is for the presenter to introduce the video when the slide containing the video is displayed, thus giving enough time for all PCs to buffer the video to allow the video to start playing when the presenter clicks the Play button.
Once you have embedded the video into your PowerPoint presentation, as I mentioned earlier, there are a few more steps you need to complete before the video will play in Lync 2013 meetings. First, save the presentation in its original form. Then in PowerPoint 2013, select the File menu:
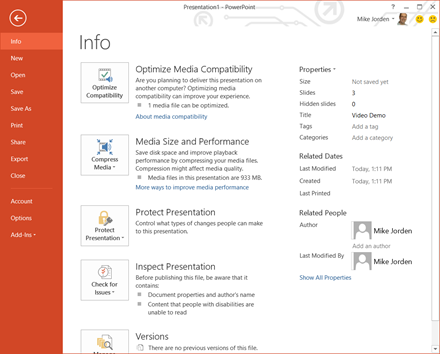
Depending on the type of video you embedded into the presentation, you will see either one or two new options in the Info screen:
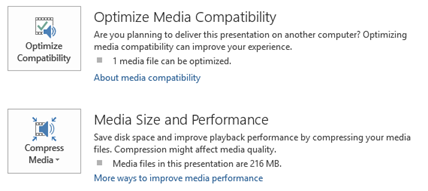
If the video is not in MP4 or WMV format, you will see the Optimize Compatibility option. Click this to ensure the video will be compatible for online presentation:

Once processing has finished, select Compress Media:
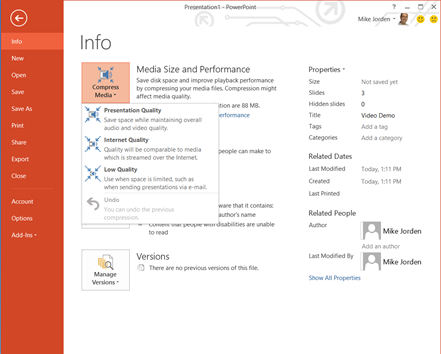
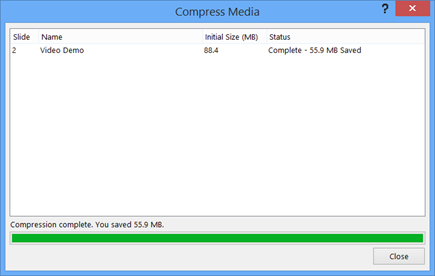
The 3 options change the quality of the video but also reduce the file size and thus the video performance when shared in a Lync 2013 meeting. I normally use Internet Quality. This gives an acceptable image quality but also reduces the file size enough to ensure that most slow connections can buffer the file sufficiently to display it correctly in the meeting. Once the video is compressed, PowerPoint will inform you how much the video size has been reduced:
Now it's time to save the presentation again. Give it a different name, maybe appending "- Lync Optimized" so you can identify the two presentations later.
Upload the presentation into Lync as usual. The video file is now embedded into the PowerPoint file so you don't need to upload videos separately.
During the presentation, when you come to the slide containing the video, pause and introduce the video. This will give enough time for the video file to be buffered to remote attendees (as explained earlier):
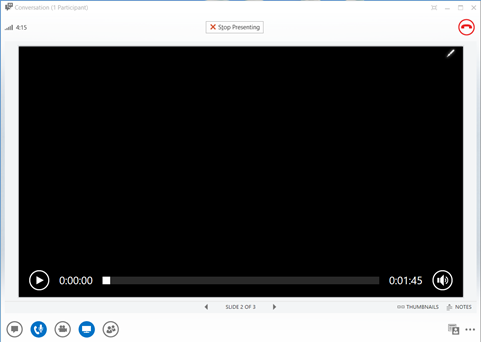
After you have introduced the video, click the PLAY button to start the video:
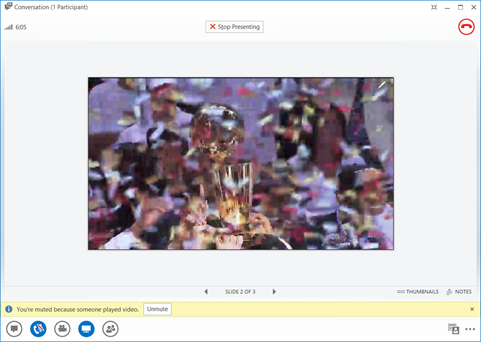
Note that Lync 2013 will mute your microphone. The audio from the video is played on each PC, including the presenter's PC, so the presenter's microphone is muted to ensure everyone does not get echo from the video audio and the presenter's microphone. Once the video has finished playing, don't forget to unmute the presenter's microphone!
Warnings
Playing video via PowerPoint in Lync 2013 has been used very successfully in many meetings. However, there are situations where there may be problems. If some meeting attendees have joined the meeting via PCs with very slow network connections, there could be times where the video will either start but not complete playing before the presenter moves on in the presentation, or where the video may not start at all. As described earlier in this article, the video file is buffered to the attendee's PC. If the network connection speed is too low, it may not be possible to buffer enough of the video for the video to play. Also, if the buffering fails mid-way through the video, the video may pause and then restart. The presenter has no way to know whether all attendees have successfully watched the complete video, so when the presenter advances to the next slide, any videos still playing on attendee PCs will be stopped.
If you suspect that some users will be attending via slow links, test the video with some sample users before the main presentation (preferably a few hours or the day before the meeting). If the video fails, you can try to reduce the video quality using Compress Media, but note that all attendees will see the same quality of video.
If you have many users on poor network connections, it might be worth providing offline copies of the video or avoiding the use of video altogether in some meetings.
However, with careful planning and choosing the right options in PowerPoint 2013 it is normally possible to achieve very satisfactory results playing video clips in Lync 2013 meetings.